Miyazaki Wagyu


No words to describe it...poetry...they should've sent a poet... This is the epitome of a 'quality ingredient'. It's unlike anything I've ever had before. I've always loved a good steak, and I've been finding better and better meats as I go along. After a few stellar meals at steakhouses, I figured it was time to up the game. By random chance, I happen to be in a fish market of all places, and notice a hyper-marbled steak sitting in their case. I took a picture of it and the name 'Miyazaki' so I could research it when I got home.
I'll be up front and honest. You can either get this, or you can't. There is no substitute, no equal, no 'this is almost like it'. It's definitely a special occasion type of steak. That being said, it is very hard to find so do your due diligence and make sure that the place you find it at is selling legit product. They should be able to produce a certificate for you that shows you all the information about the cow and is also traceable online via a Wagyu database.
Check the Wagyu post here to learn more.
The Certificate


Advice
Japanese Wagyu is one of the richest foods you'll ever eat.
It's hard to finish more than 3-4oz per person. It's that rich.
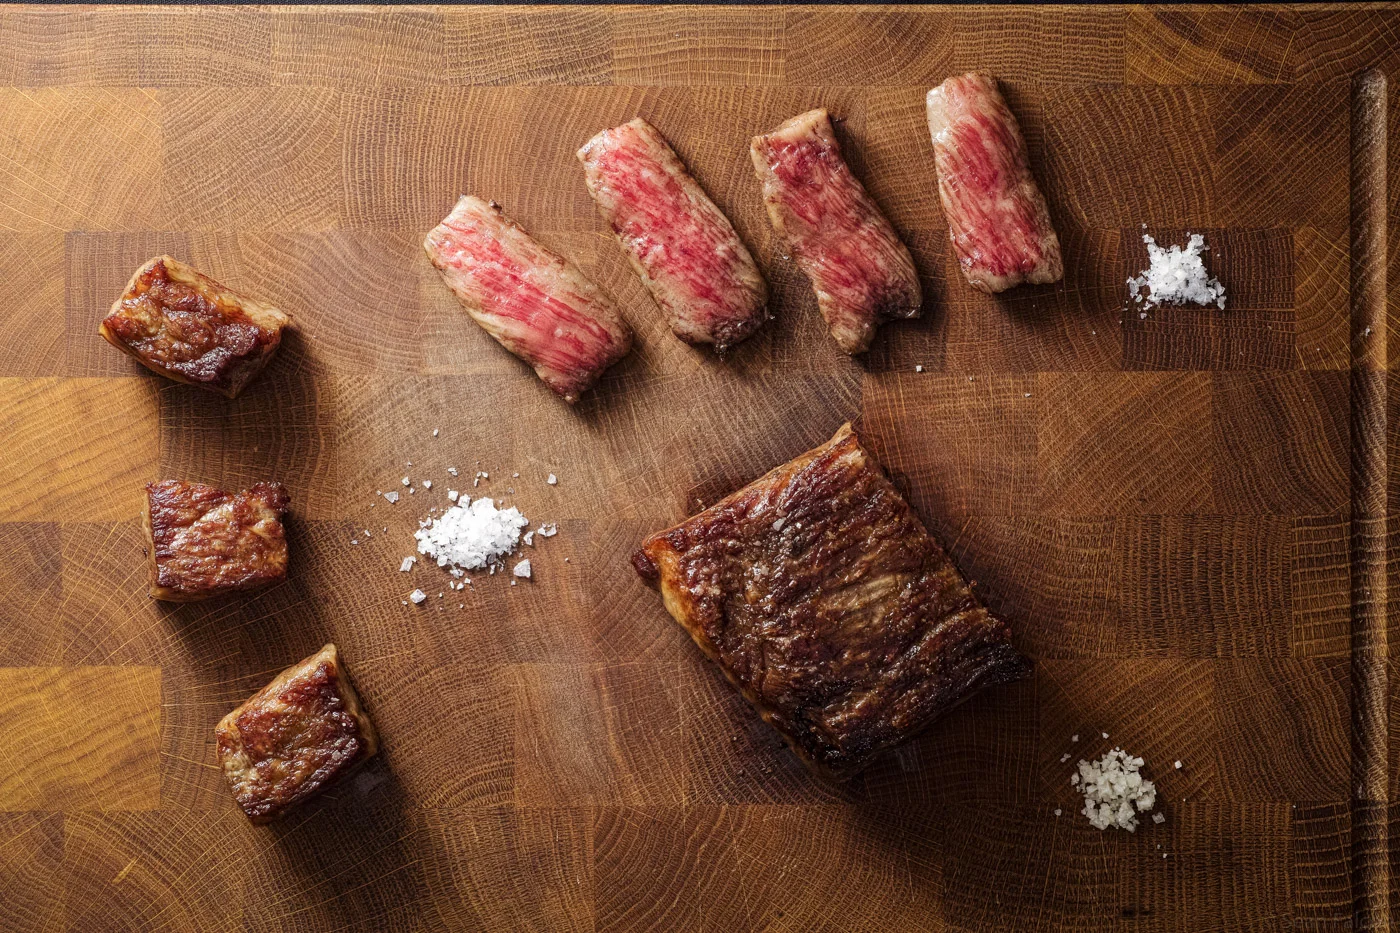
Personally, I think it's best when cooked in thin strips (see below) to help mitigate the amount of fat per bite.
Experiment with different methods of cooking. I'd advise against cooking a larger cut of this on the grill as the endless amount of fat will cause giant flareups.
Cast iron provided the best result for me.
All this steak really needs is salt. A little before cooking, and then some good finishing salt that you can add as you eat.
Ingredients
Miyazaki Wagyu
Kosher Salt
Fleur de Sel
Sel Gris
Cookware
Cast Iron Skillet
Prep
Trim off any fat on the edges of the meat. You can render this out over low heat and reserve it for other uses.
Cooking Instructions
Warm the cast iron pan over medium heat.
Gently sear each side until a nice crust develops. This will probably take longer since it's not a rocket-hot pan.
If needed you can finish it in the oven for thicker cuts.
if you're using thinly sliced strips, I enjoyed cooking then on just one side and leaving the top untouched by direct heat. See images below.


Finishing
If you're cooking the entire cut or a thicker portion, it has to rest for a five or so minutes before you serve it.
If you're doing thin slices, then they don't really need to rest.